Happy Hump Day!!
Blog, create cards, blog, create cards-that is the dilemma for me these days. Also, having a concussion and still feeling the effects of it has kept me off of the computer for the most part. I did want to share some of the cards I made using techniques from the
Clean and Simple 3 Class I just completed. What a fun class!! I would definitely recommend taking one of these classes if you ever get the chance.
For the first card, I used
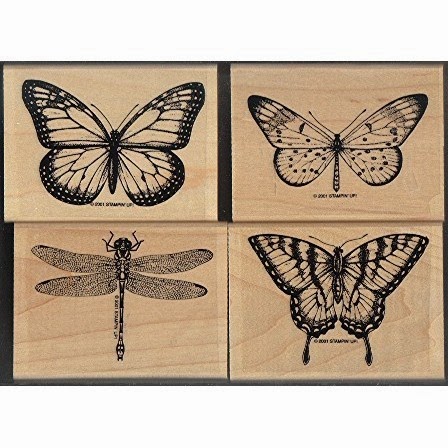
Debbie Hughe's embossing technique to create my card. Her beautiful butterfly card inspired me to make a card using a butterfly stamp. This stamp is from Stampin Up!'s "Wonderful Wings" set-one of the oldest stamp sets I own. I rarely use wooden stamps anymore but this stamp set is still one of my favorites!
Here is the card I created:
Unlike Debbie, I chose to emboss in black rather then in white for this card. I think that the black suited this butterfly rather then the white. I then colored in the butterflies with Copic markers.
I generally like the way they came out BUT they did pick up some of the black embossing powder and sent it through the coloring to mottle it a little. It made the butterflies a bit dark. I then used a Wink of Stella pen to go over all the butterflies to make them shine. It is a little hard to see in the photos I took, though.
I then sprinkled green and orange mist on the card. Debbie showed how she does "controlled" sprinkles but I threw that out the window and just went for it. I am in that mode these days of just going full out.
The embossing paste technique was the last step. I used a stencil I cut out of white card stock using my Silhouette digital cutter. After the embossing paste dried, I covered it all with a little Wink of Stella.
The second card I created I decided to leave the embossing paste off but started off trying the "controlled" misting. Once you see the card, you will see I did NOT control my spraying in any shape or form!!!
I decided to used white embossing powder for this card and pulled out some Radiant Pearls paint-something I have had in my stash FOR YEARS to paint the butterflies.
Can I tell you how disappointed I am that they don't make these anymore? They are so fun to work with and I only have about 7 colors. It is hard to tell from the photo but the butterflies are shiny from the paint-no glitter pen needed.
I have to admit, that I liked this card better then the first…until I screwed it up with the darn greeting. I messed up the stamping-one reason I rarely make one layer cards. I tried to "fix it" by stamping over it in black and then using my glitter pen over the black. I wish I had just used a gray or black ink for the greeting in the first place instead of getting fancy with a color.
I also went around the outside with Hero Art's gold ink. I thought that it was a nice touch. I added sequins too because I thought it needed a "bit" more. Sometimes knowing where to stop is so difficult!!
Things I learned from this class:
1. Masking takes a bit of time. For this card, I had to make four separate masks using masking paper. Each of the butterflies needed a mask, as well as the sentiment.
2. Also, I need to get a palate knife for the embossing paste. I used a plastic knife for it on the first card and you can see the ridges from where I went over the paste with that knife. I also was kind of sloppy but since I have only ever used this technique once before, I know that I just need to practice.
3. Black embossing powder is not color fast. I think this is the greatest lesson!!
4. When you make a mistake on a one layer card, you have to figure out how to "fudge it" to make it better or throw it away. Sometimes you don't want to throw all that work away so you make do.
Well, that is all. I thank you for looking at my cards. I have had a blast at looking at all yours. Have a great day!!
Nora